In November of 2021, I had bags of Bachmann EZ Track, a SCARM-developed 4×8 foot EZ Track track plan and an 8-foot by 30-inch plastic table.
I bought 1/2-inch plywood to cover the table. I would have loved a single, 4×8 piece of plywood. But I could not get that home with my car (tying it the the roof was not an option) so I got 4 pieces of 2-feet by 4-feet, 1/2 inch plywood.
I carefully arranged the plywood on top of the table, glued it on and then reinforced each piece with 4 1/2-inch bolts, washers and wing-nuts. I was always using the level to make sure the boards stayed level.
Then, I covered the board with 4-feet by 8-feet of 1-inch thick Foamular. I would have preferred a single 4×8 sheet for this, but the Foamular comes in 2×2 panels so I bought 8 of them and glued them to the plywood. There were small gaps in the Foamular panels that I would have to fill and sand down later. Again, I used a level pretty regularly to make sure things could be as level as I could make them.
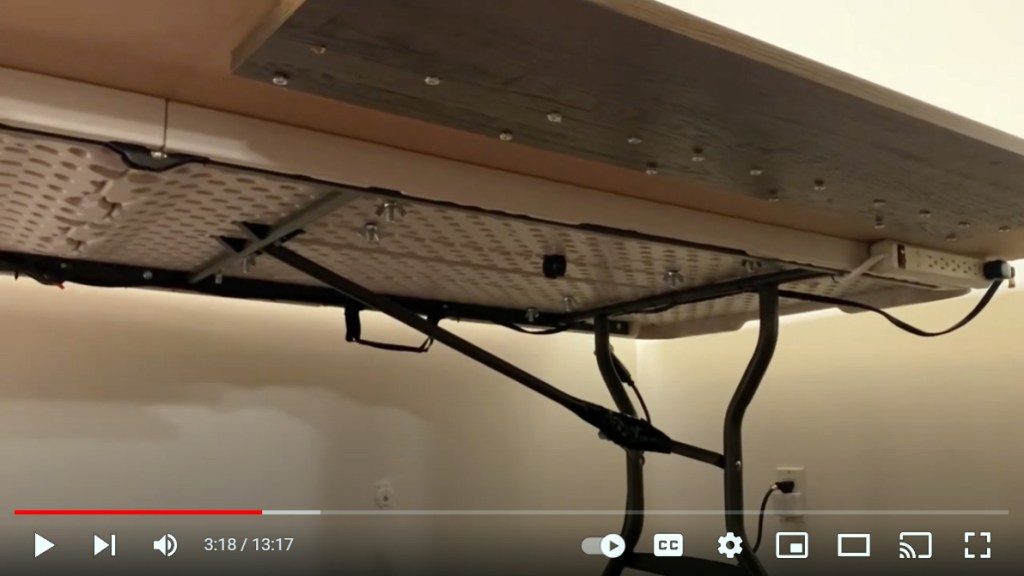
After the plywood and the Foamular was laid, I installed 2 finished dark walnut shelves underneath the plywood in the front, so that about 5 inches was sticking out and I could use those ledges to put stuff (like the controller!) I used screws to screw the walnut shelf into the underside of the plywood. I used a lot of screws to make it pretty sturdy!
Once I created my Beginner’s Baseboard, I built my life-sized printout of my SCARM track plan by taping together the 45 sheets of paper on top of it.

It’s at this point when I started recording video of the layout building process with my iPhone. I initially intended to just keep a private video record of notes I wanted to remember from the experience. But it was really fun to discuss what I was doing for the camera, and if the audience was just me, I knew I’d have the most interested audience in the world! I laid out my EZ Track right on the life-sized version of my SCARM track plan. Each piece of track goes the corresponding exact-size track shape on the SCARM. I color-coded the different sizes of track to make it easier! Having the SCARM software to keep me organized was a huge factor in helping me have an awesome first-layout-building experience. It looked so cool to me! I was so excited about where this layout was going and the adventures ahead.

Leave a comment